Prologue
With the release of vSphere 7 at the beginning of this month, I decided to make a post about how to install vCenter Server Appliance (vCSA) which is quite simple.
Which are the new features? Check this post from my friend Graham Barker to find out!
Let’s move on!
- Proceed to download the «VMware vCenter Server 7.0.0» ISO file from my.vmware.com
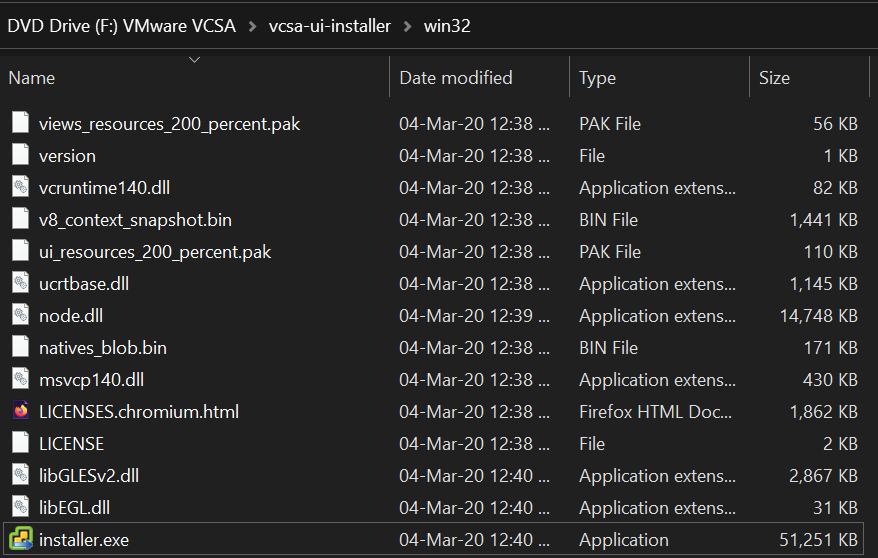
- Mount the ISO file and execute the installer.exe file :
Prerequisite: We need DNS if we want to deploy vCenter with an FQDN but if you don’t have it or you can’t for any reason, you can trick the installer and put the IP address as the hostname and it will work.
Another prerequisite will be to have an ESXi host where we’re going to install our vCenter
Stage 1 – New deployment
1. We will proceed to select install as we are going to perform a fresh install from the scratch of vCenter Server 7.0.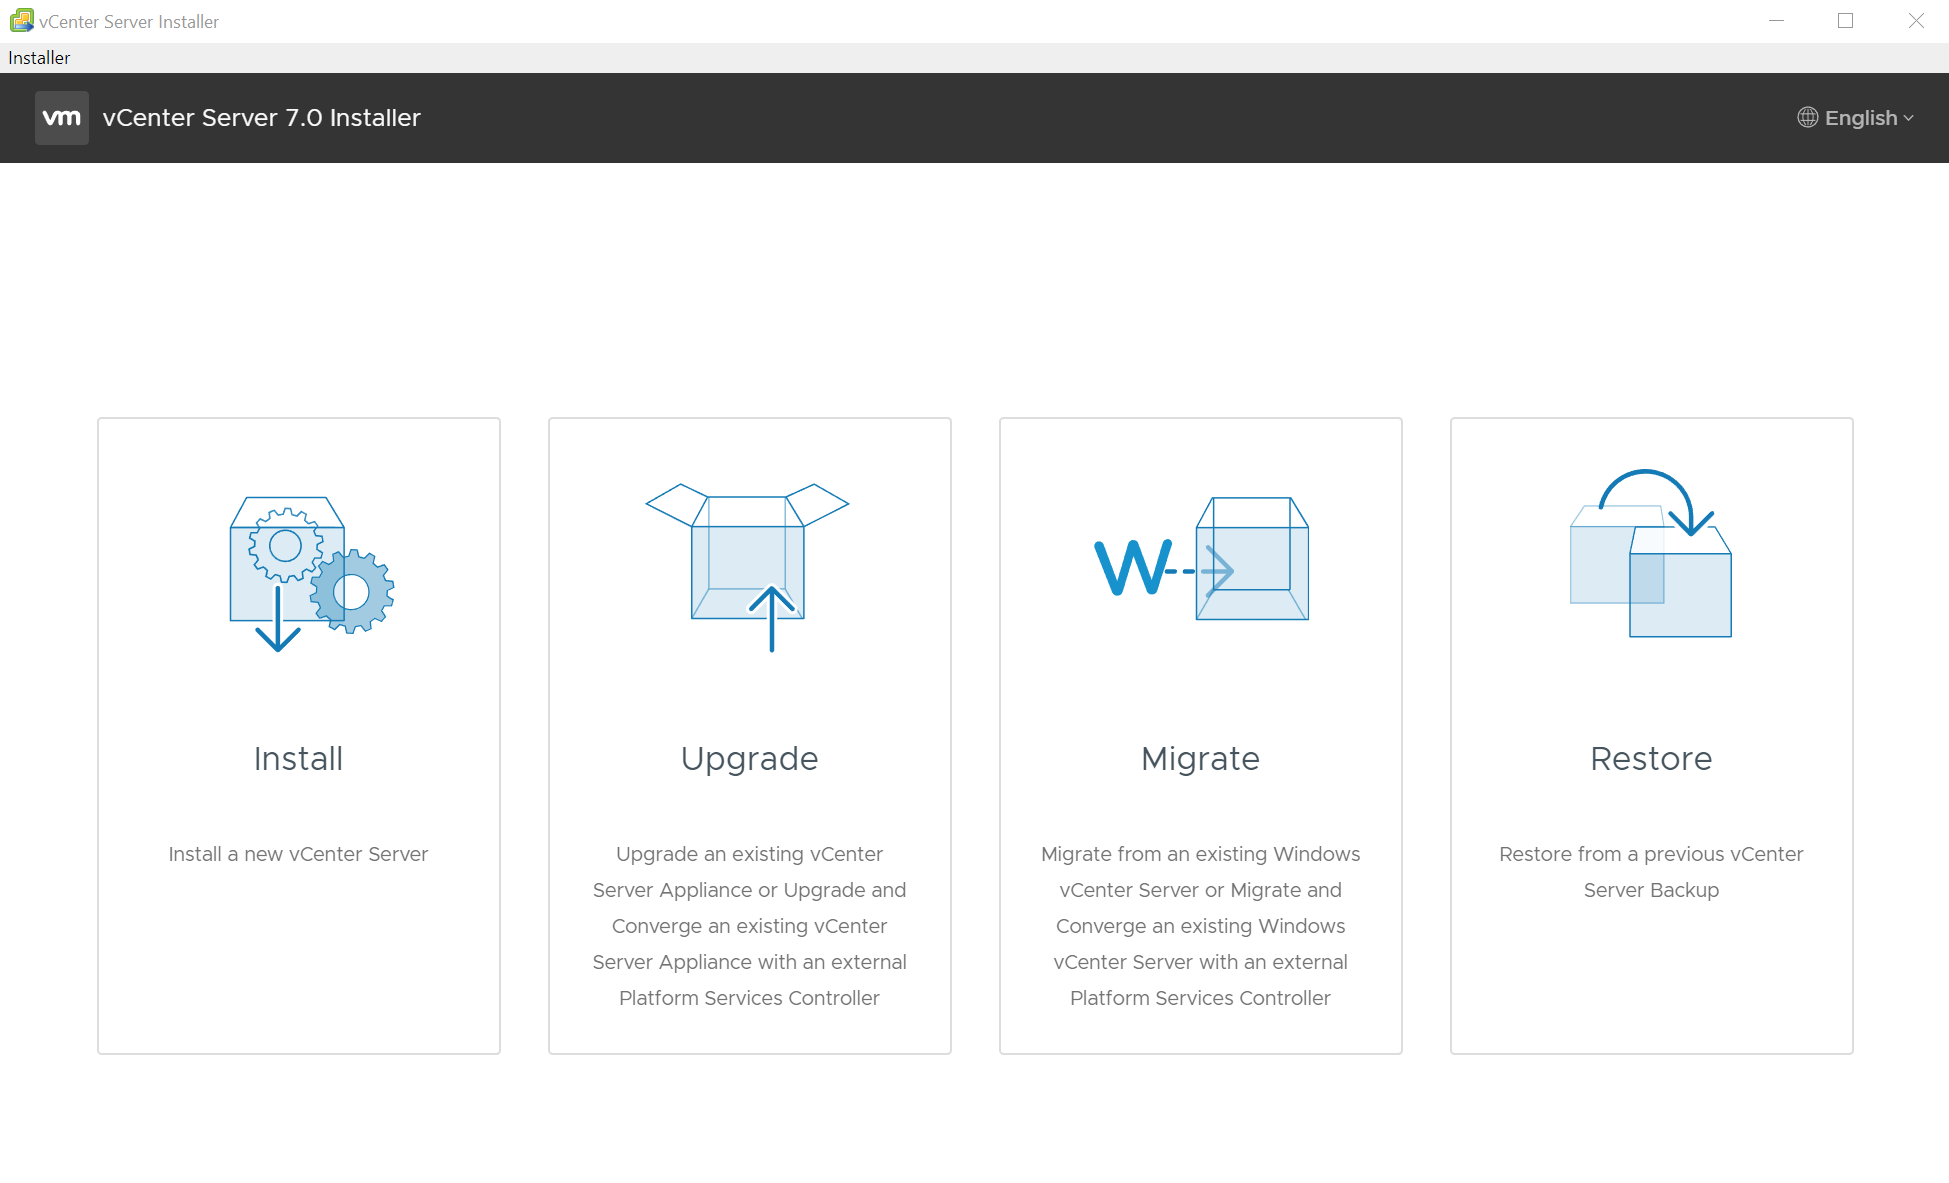
2. I like that it tells you that External PSC is deprecated! Continue with NEXT.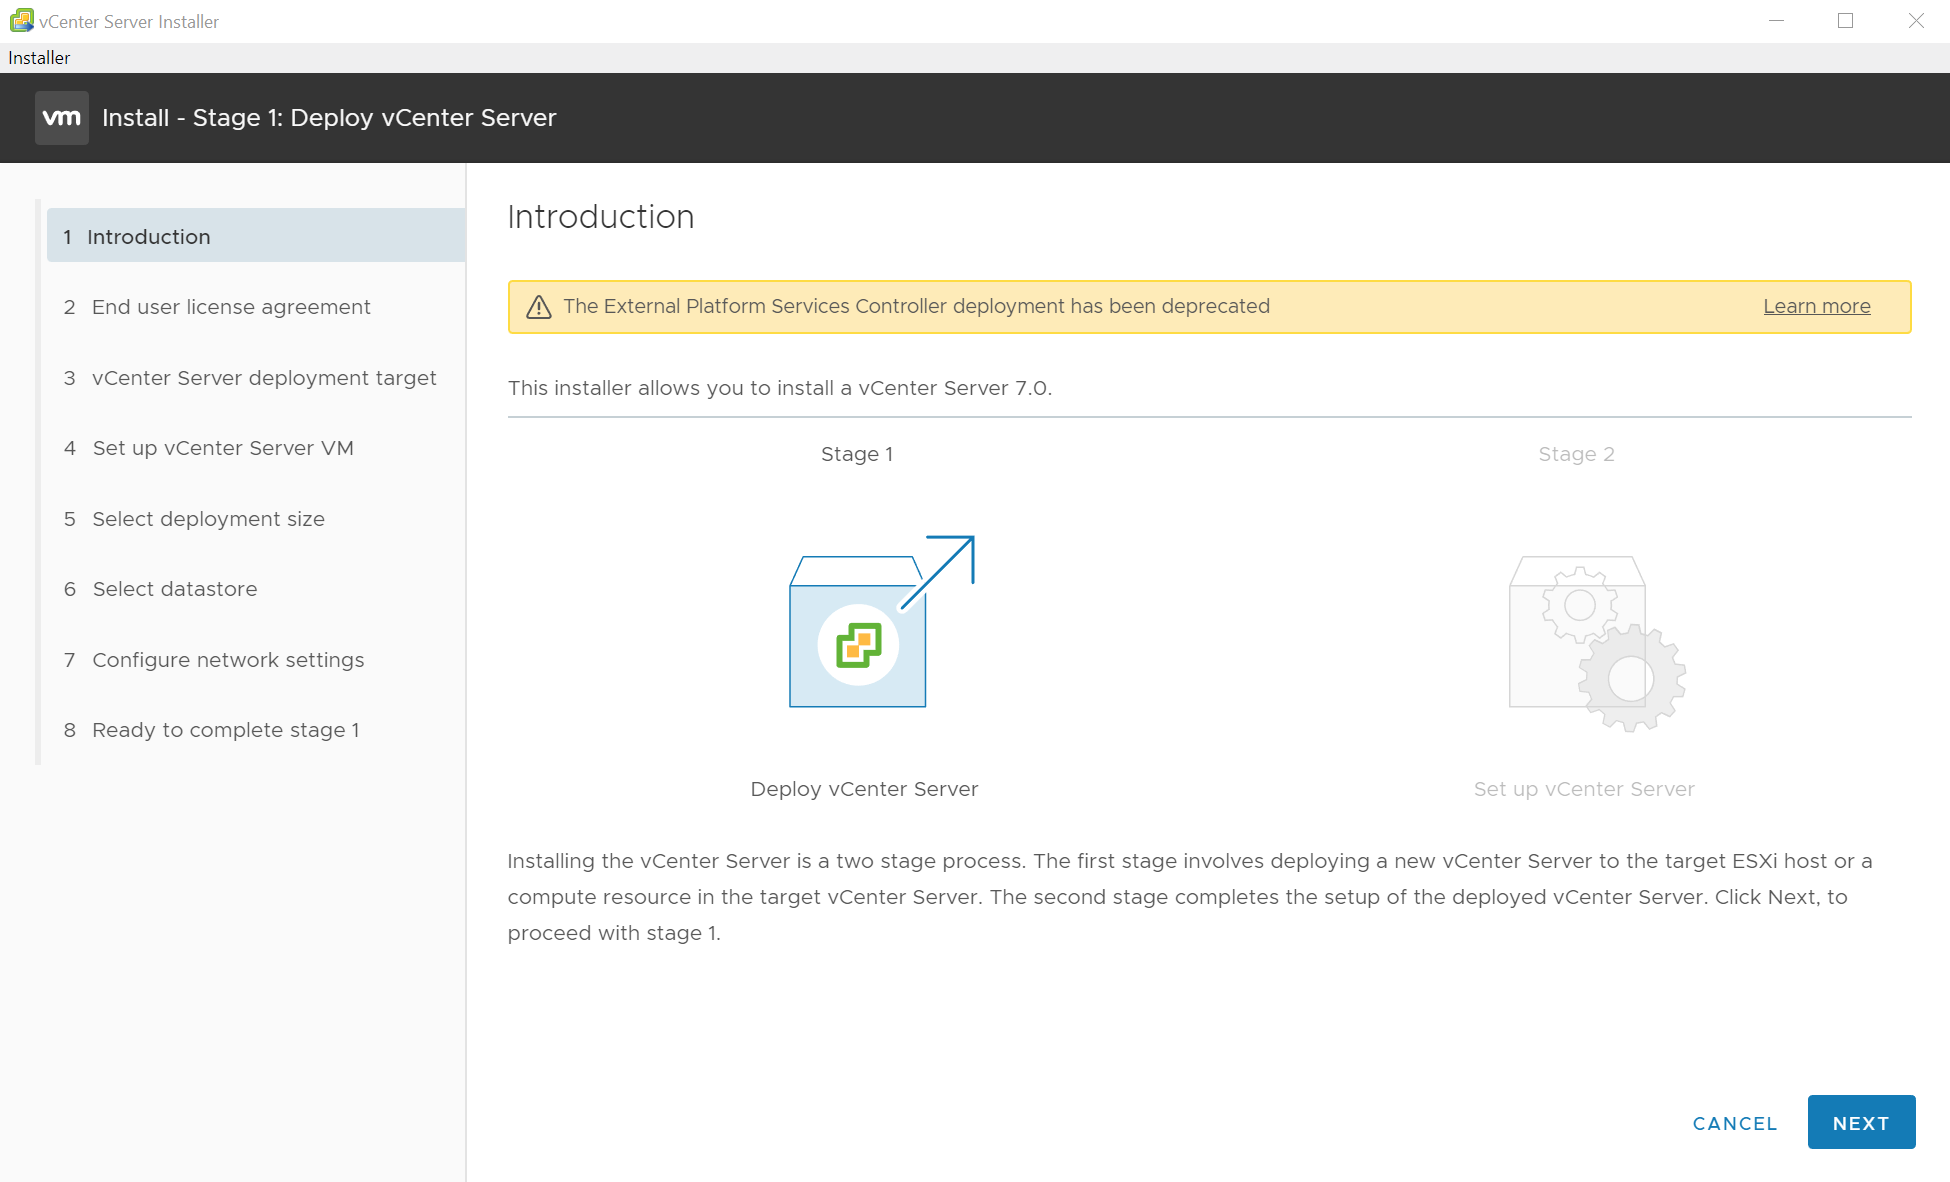
3. Just put the details of a vCenter (if you have one) or an ESXi host where you want to deploy this new vCenter. In my case (and probably the most if you’re doing everything from the scratch) I am using a host called «johto.pokemon.jp» to deploy the vCSA.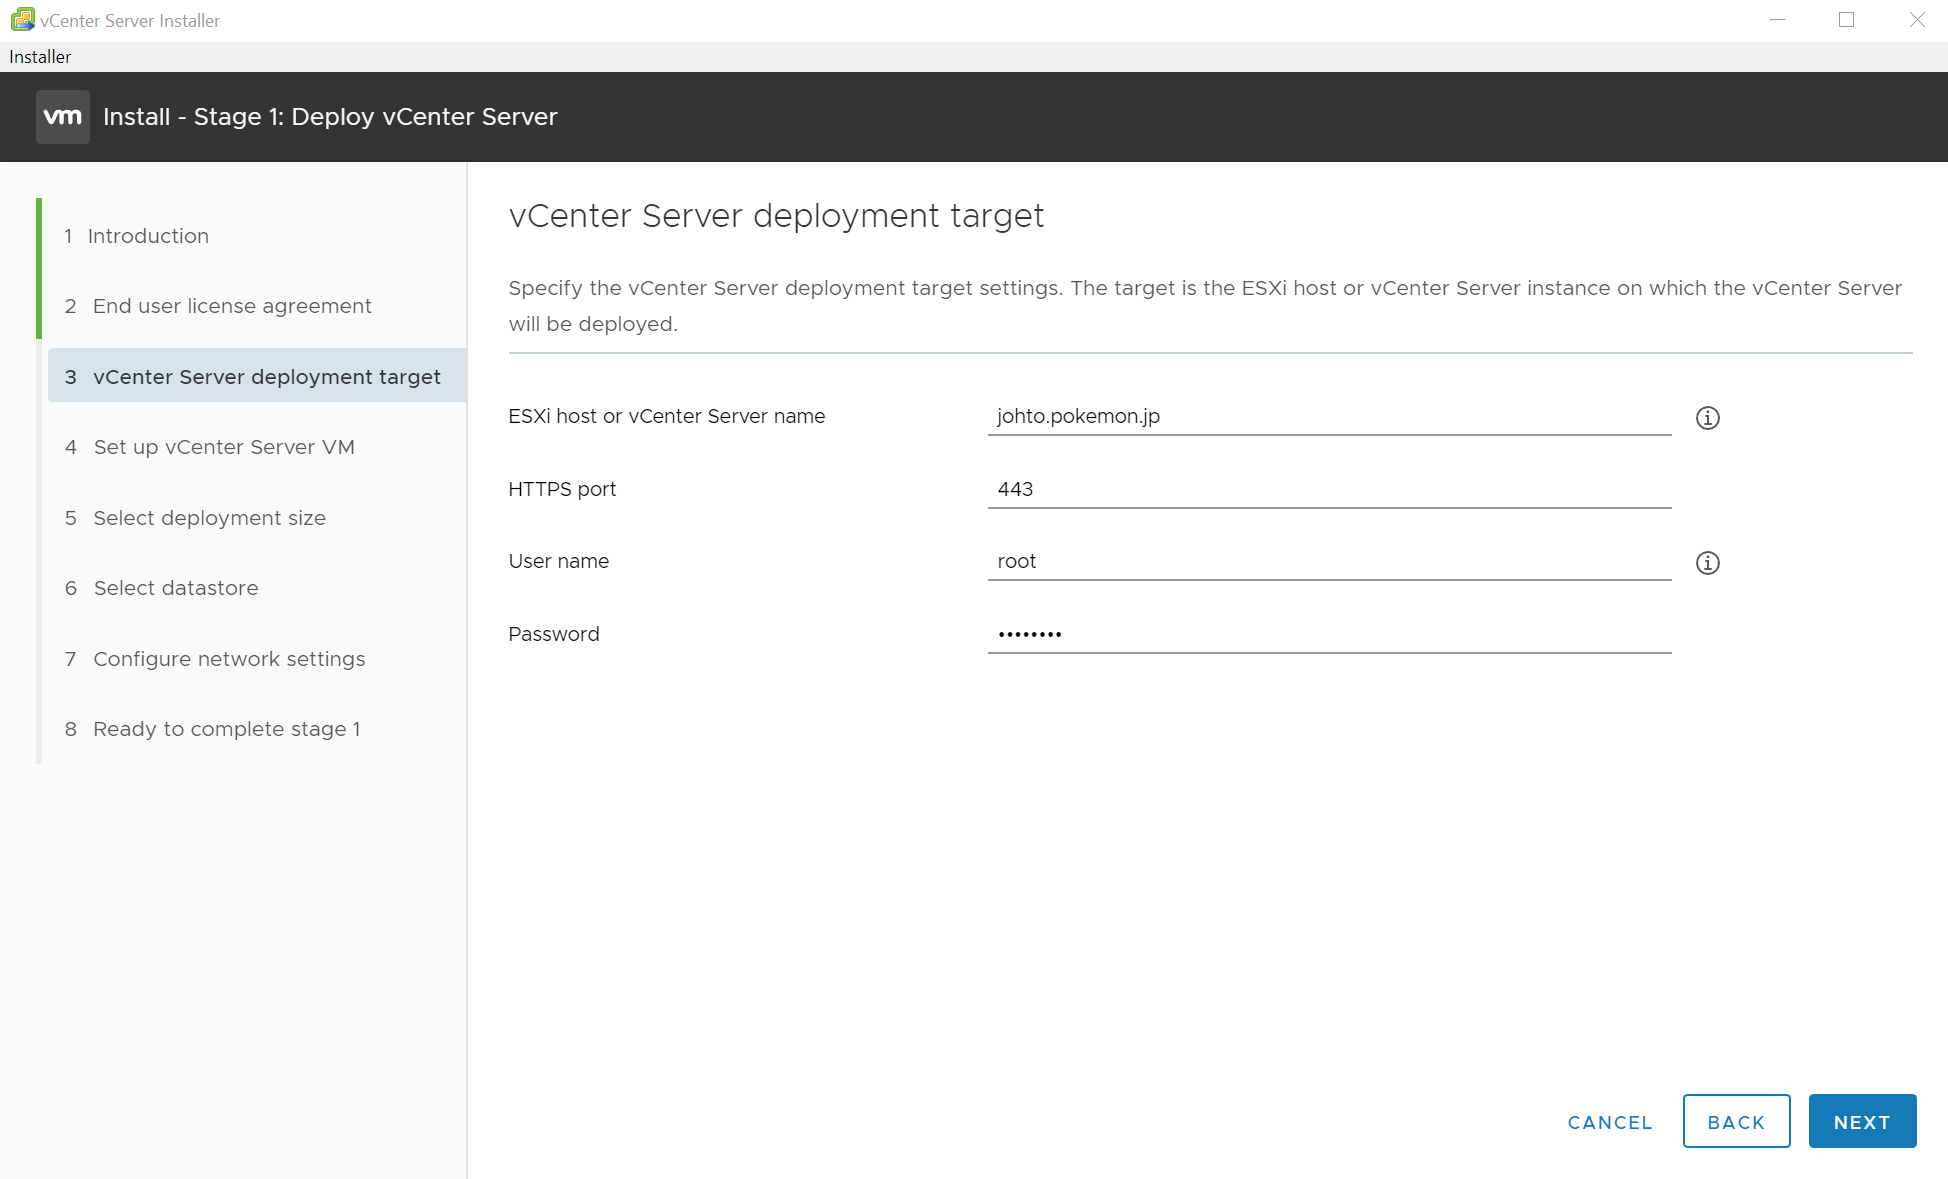
Once you press next, accept the certificate warning if you know the fingerprint of the certificate.
4. Put the name of the VM and set the root password for the vCSA and continue.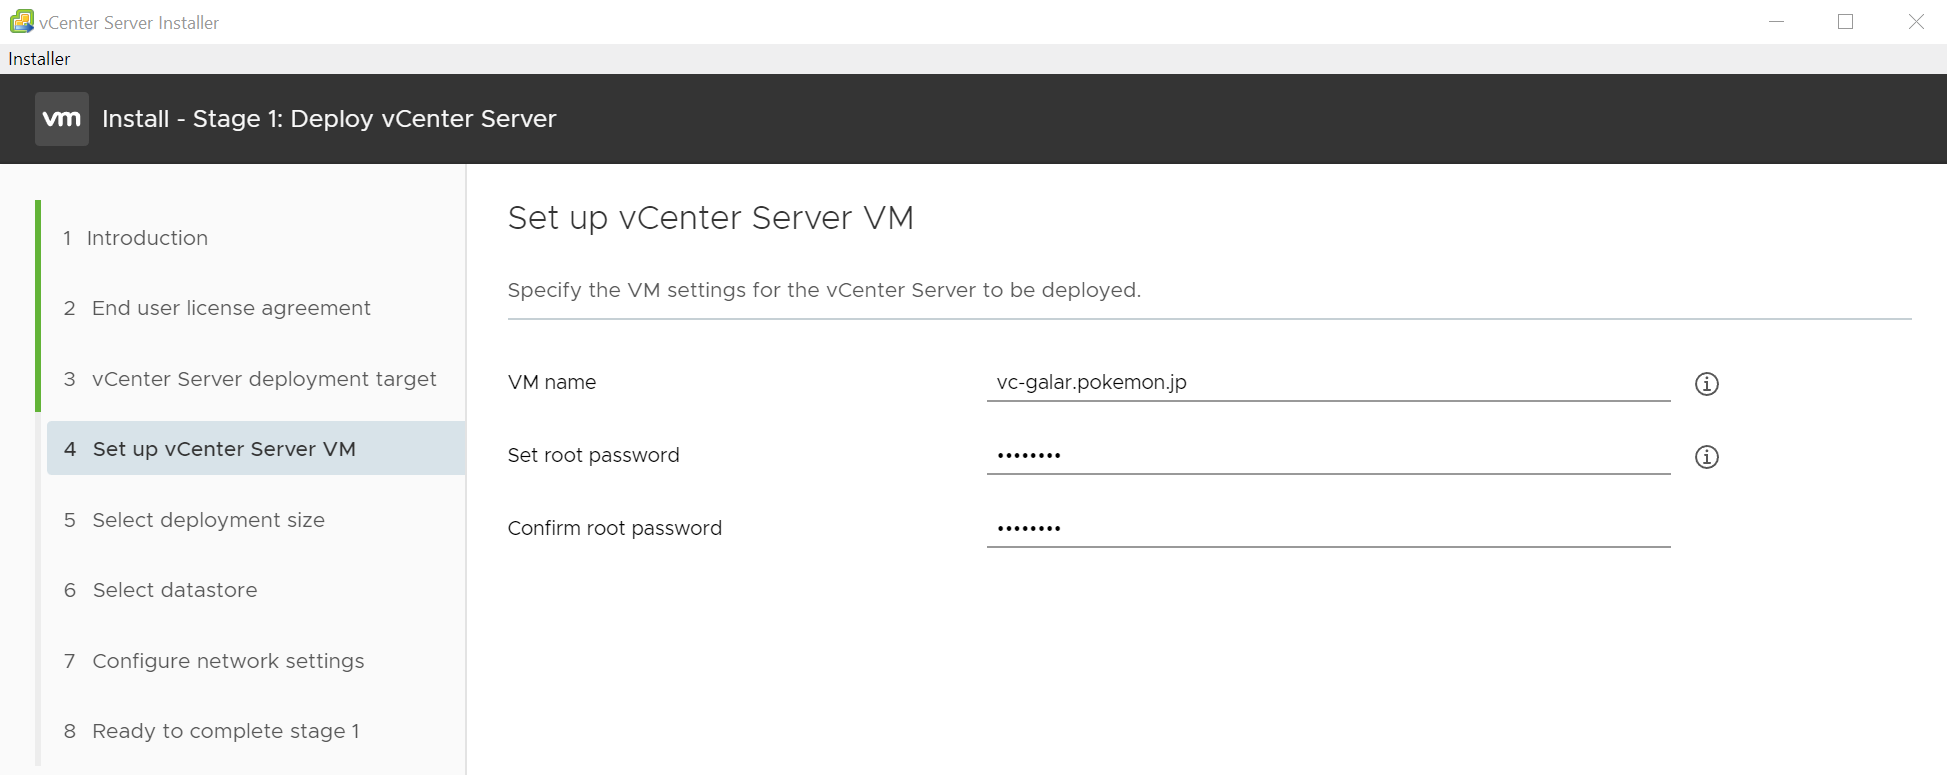
5. I am going for the Tiny deployment as it is more than enough for my lab environment. In a production environment usually, you will deploy a small one that fits in many small companies (or in your lab if you’re testing it).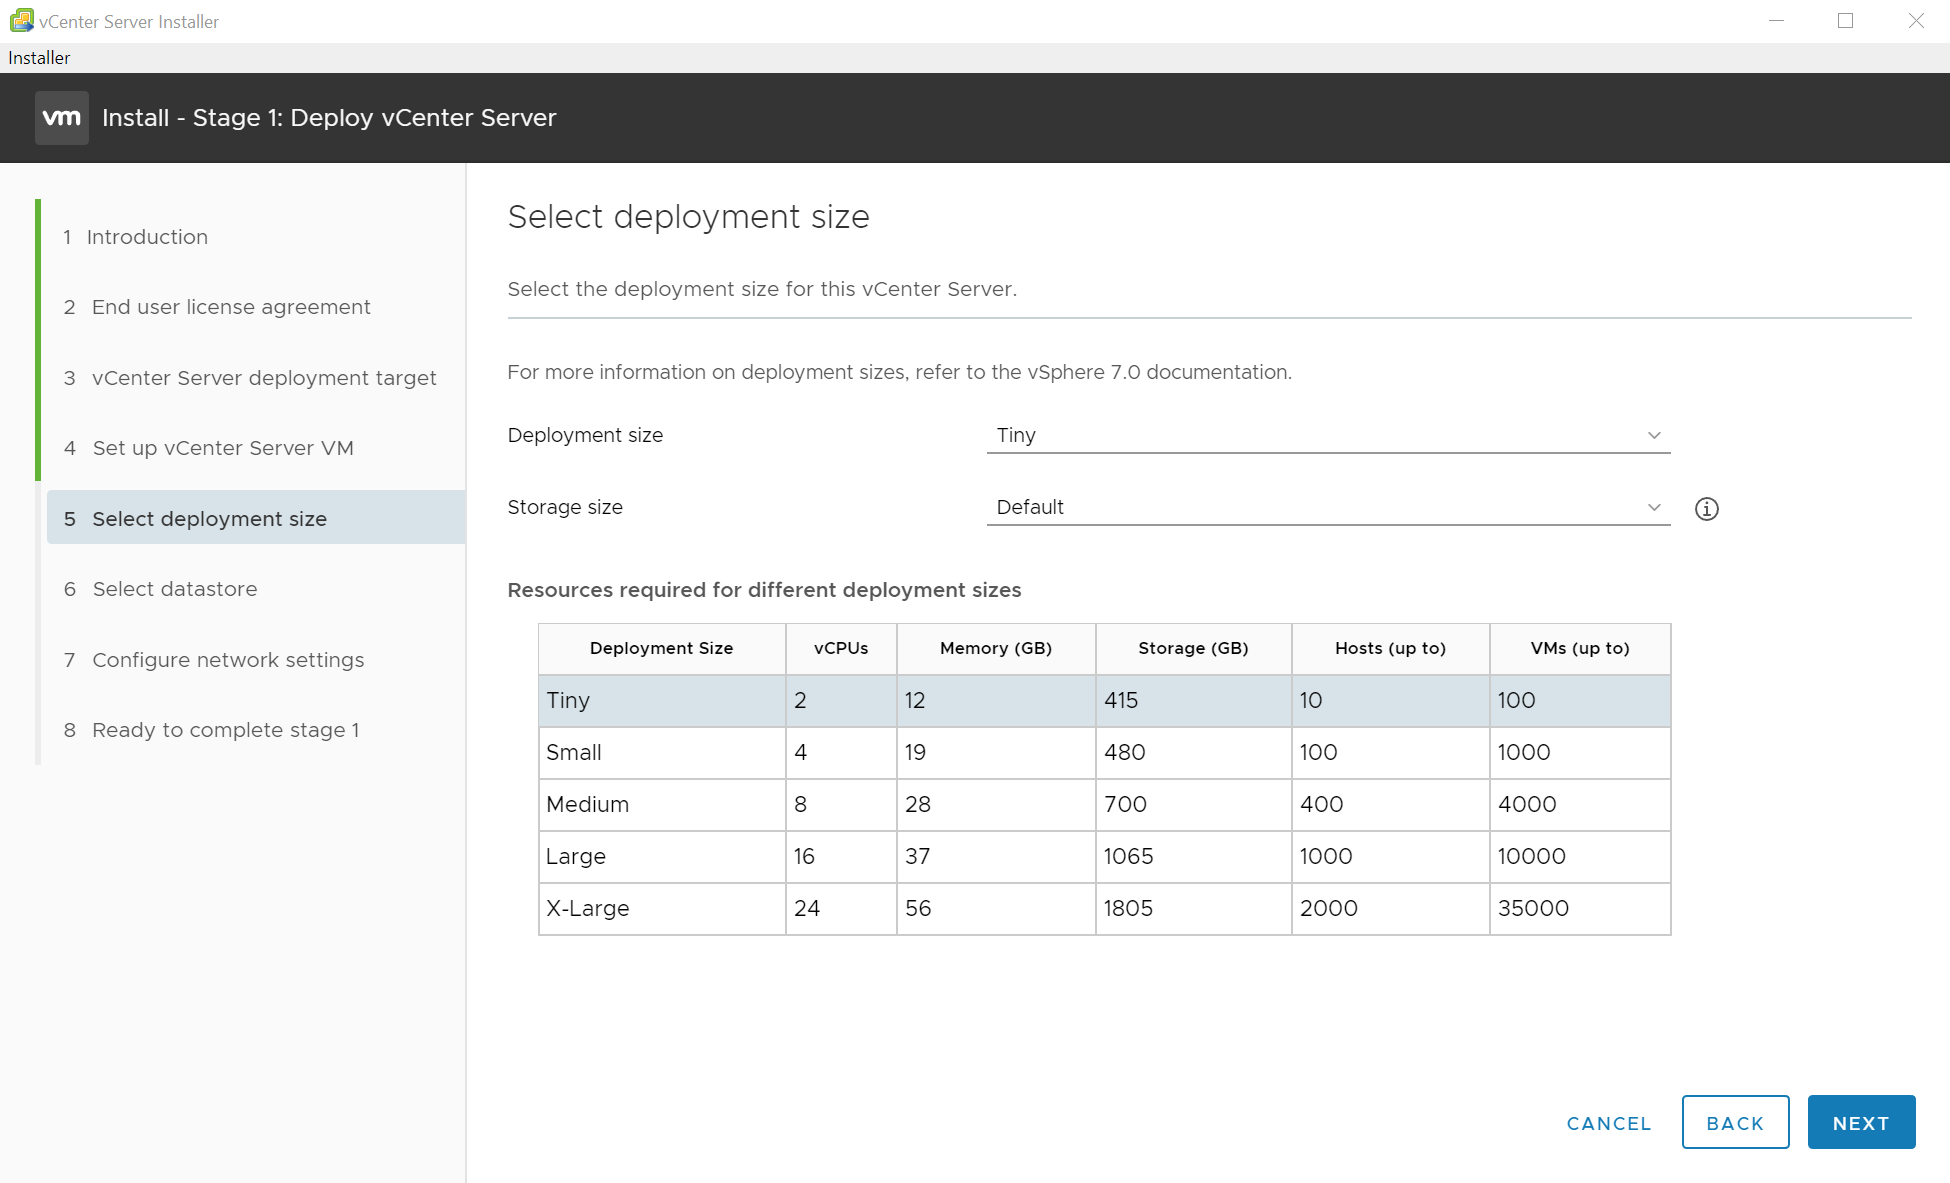
6. Continue by selecting a Datastore and check » Enable Thin Disk Mode» which is usually the best deployment as it doesn’t allocate all the space and is also enabled by default. (Look even my VMFS-5 datastores work well).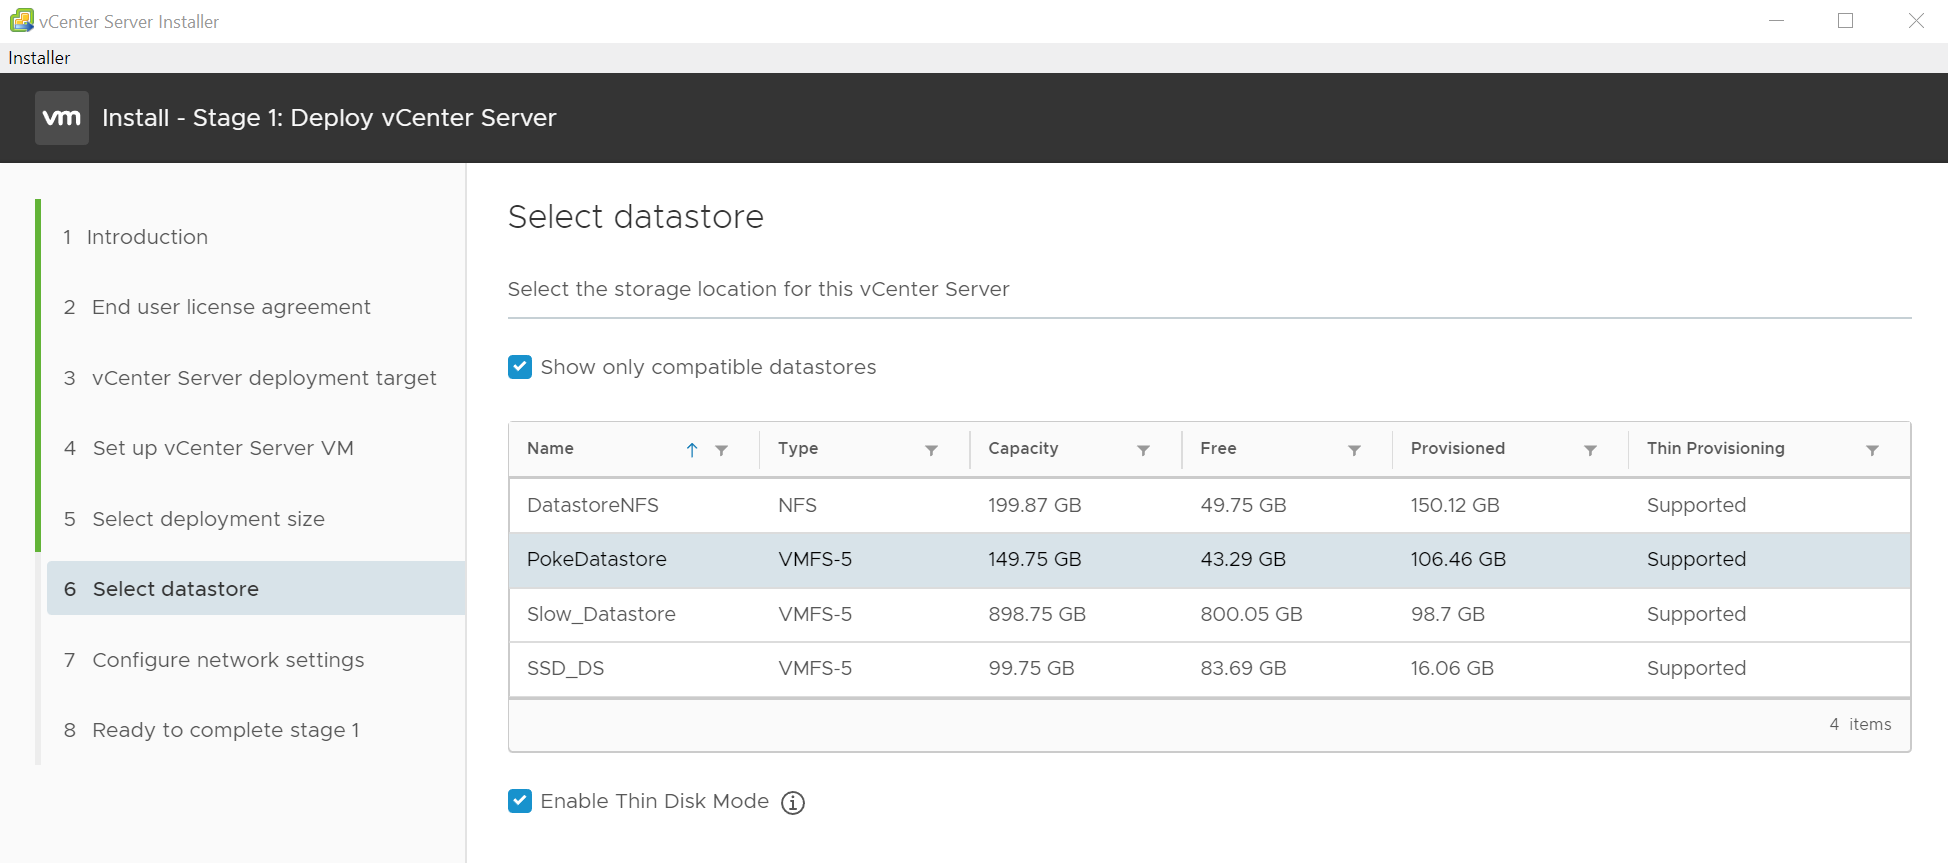
7. Now, let’s configure the network settings. Here my Network you can see a portgroup «Std_mgmt» from my ESXi host. If you have an ESXi host with default portgroups, yours probably is called «VM Network«.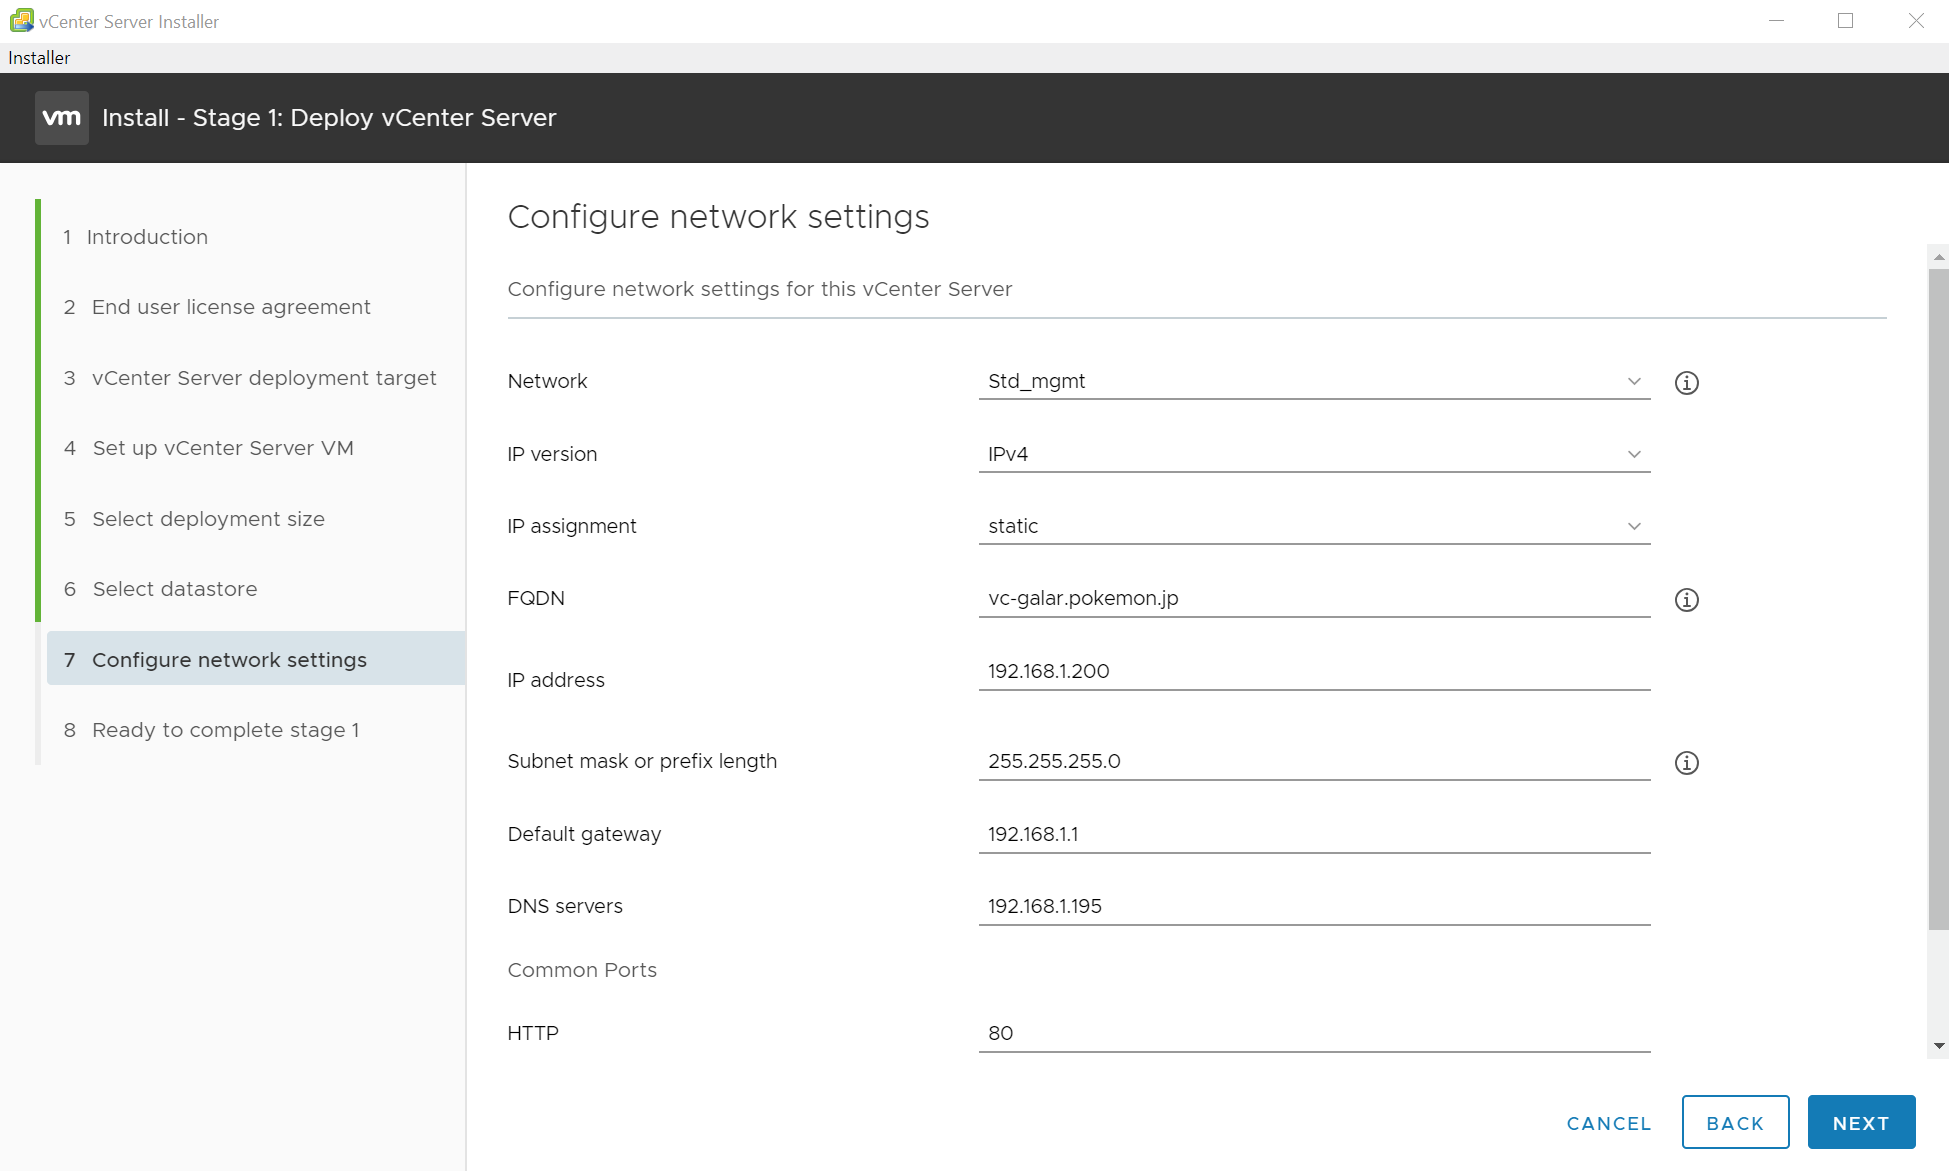
About the FQDN, as I said before (check the Prerequisite section in the beginning) you need to create an A record in your DNS in order to be able to deploy a vCenter with a name.
If you don’t have DNS because you’re installing vCenter and you don’t have it, you can use the IP address as FQDN and it will work.
8. And that’s all for stage 1, here we have a summary saying what is going to do. Be sure to review it: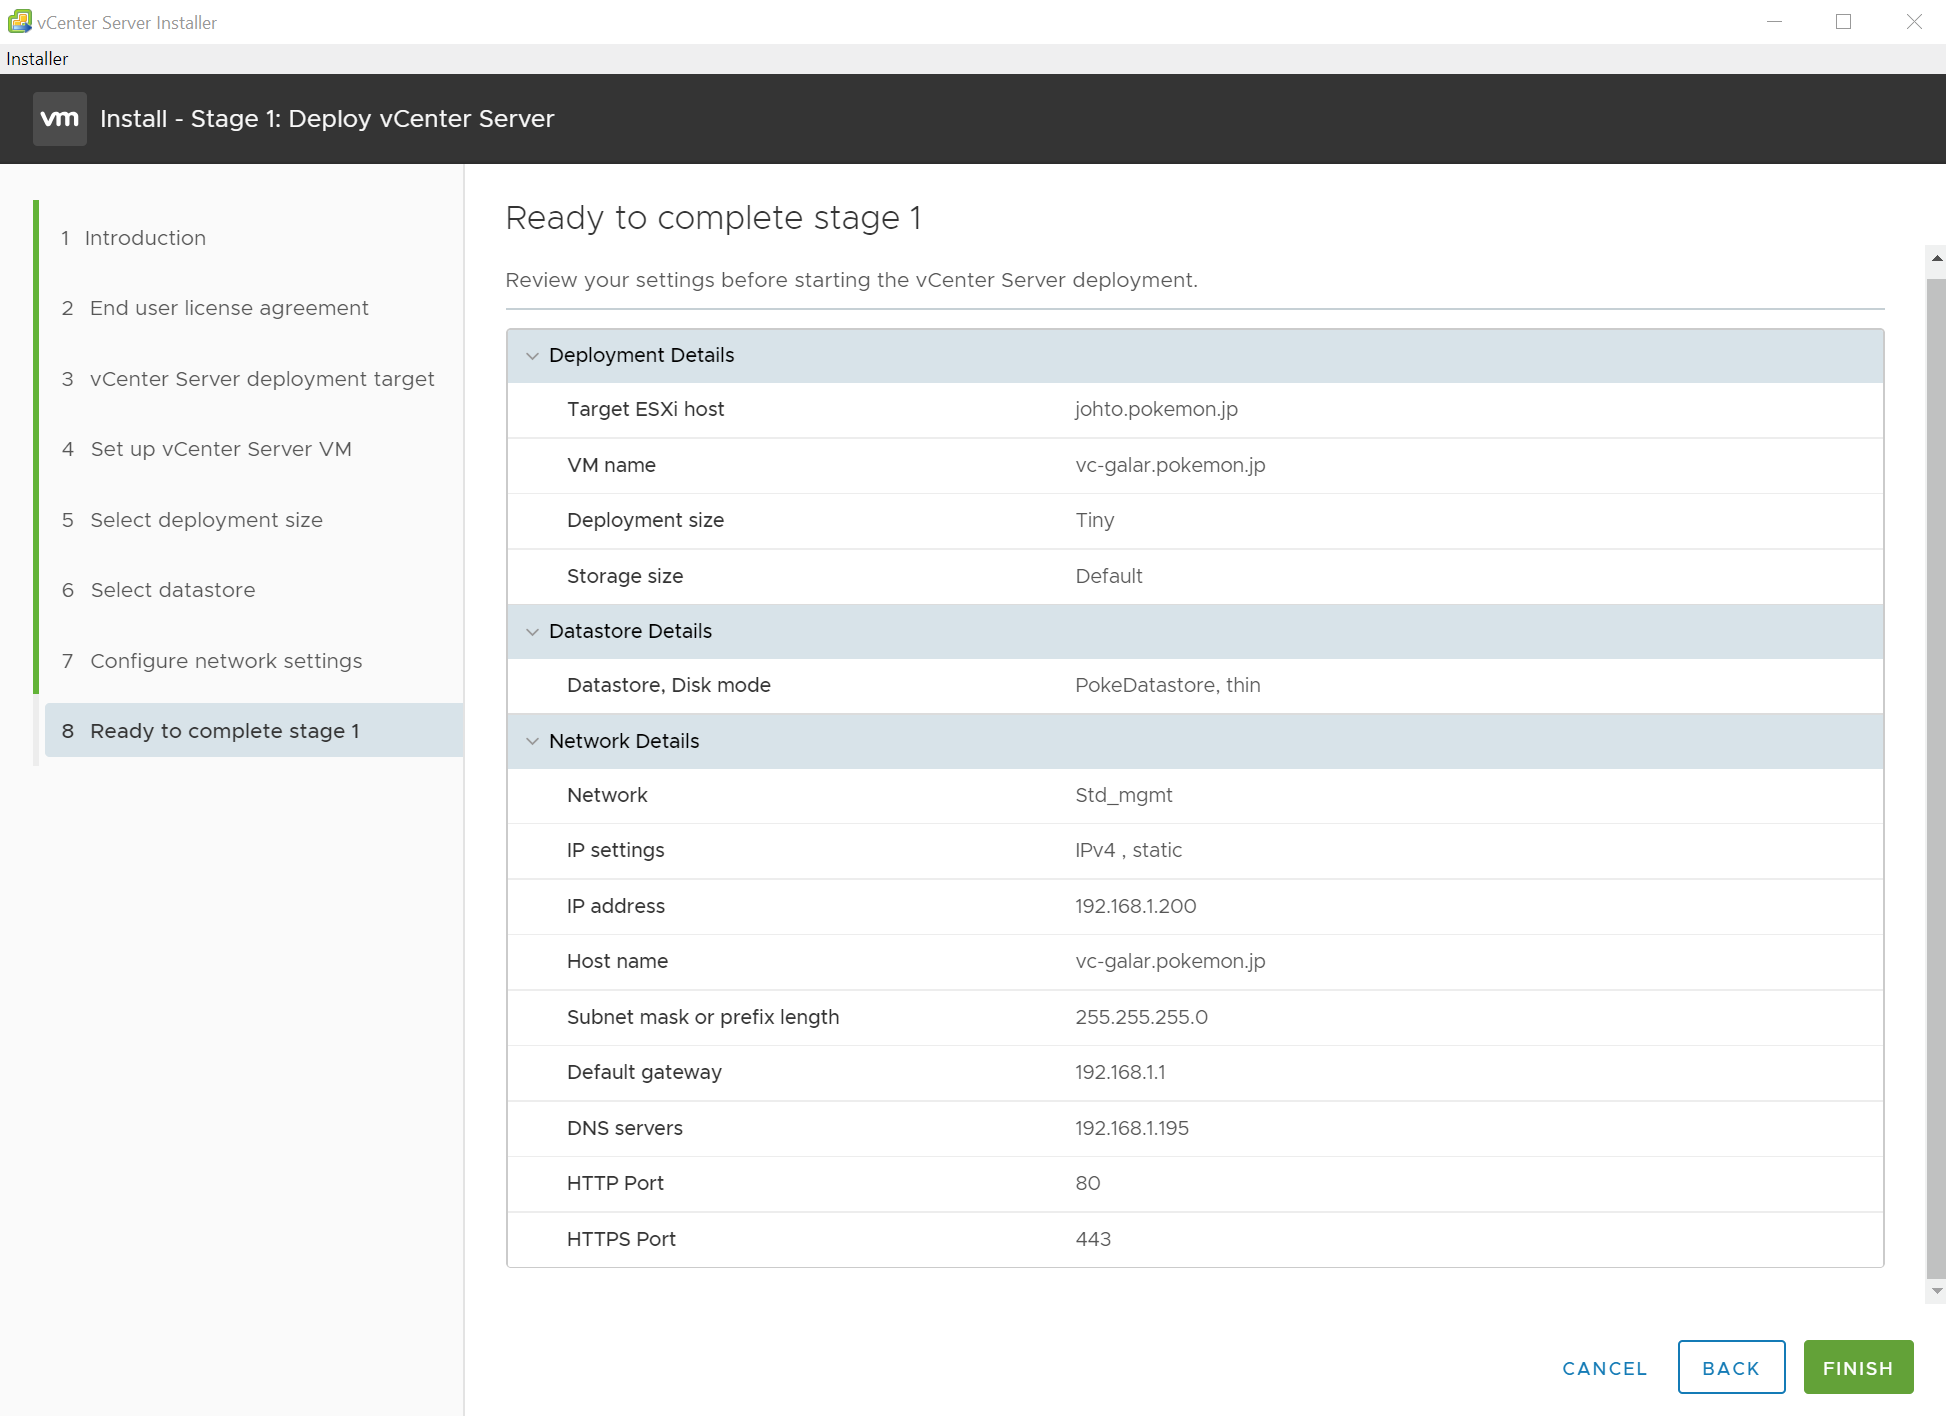 Once you’re ready, press FINISH.
It will start with Stage 1, which is the deployment of the VM where the vCenter Server resides: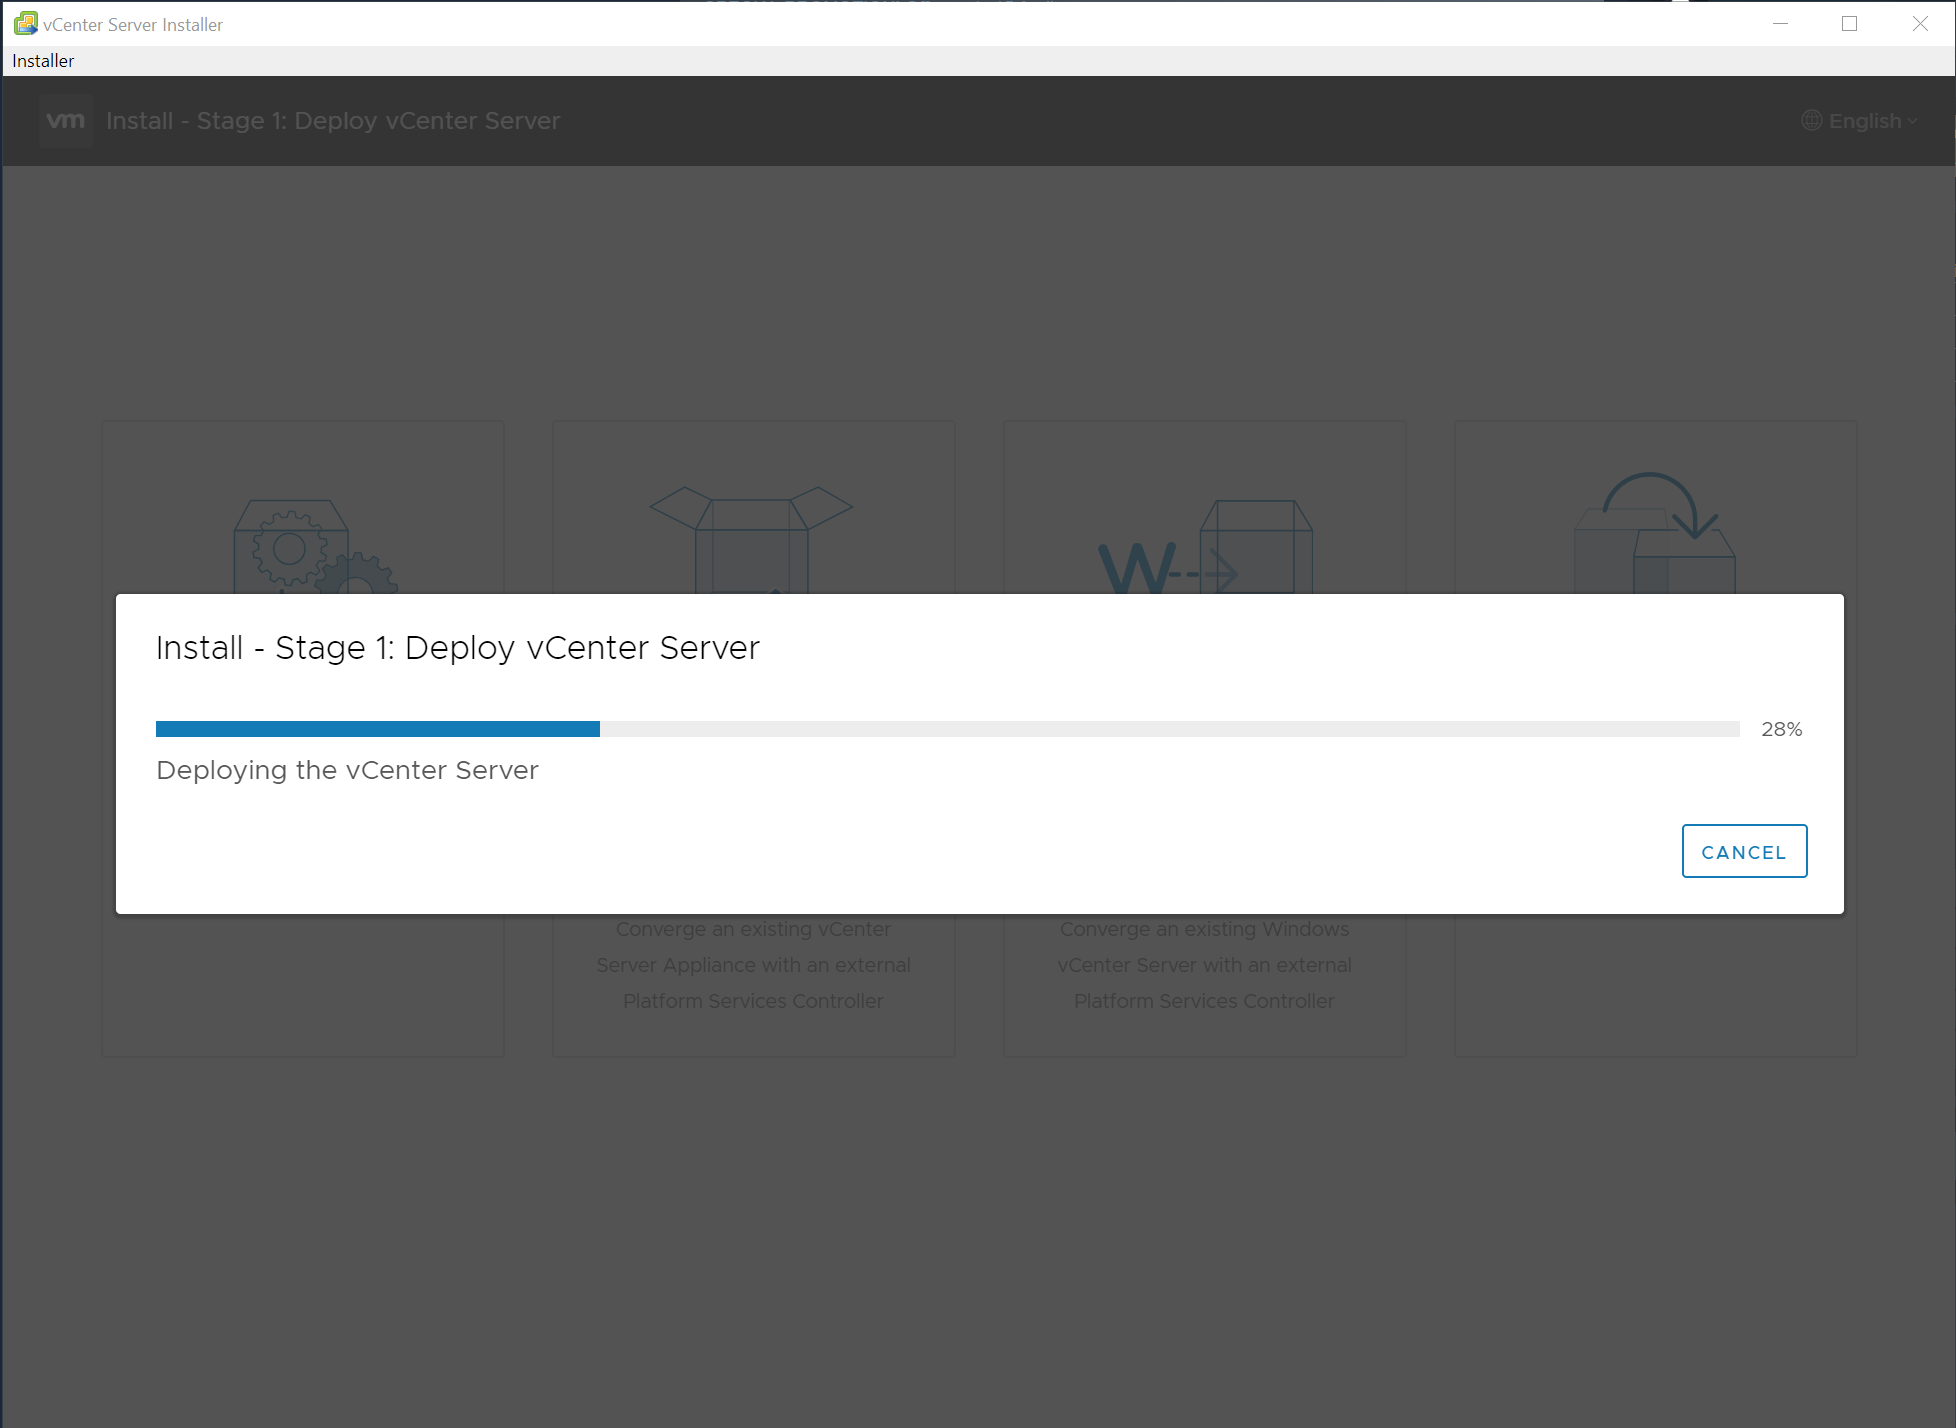
After some minutes, STAGE 1 is completed, which means that the VM where the vCSA resides is deployed but not configured yet.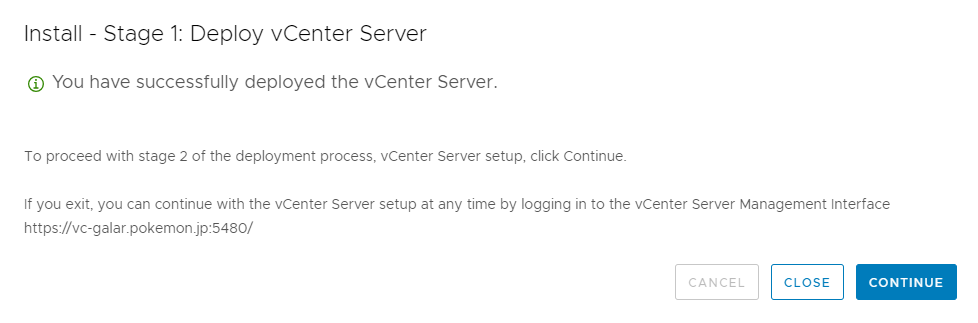
Stage 2 – Configuration
Let’s go to STAGE 2 where the vCSA will be configured.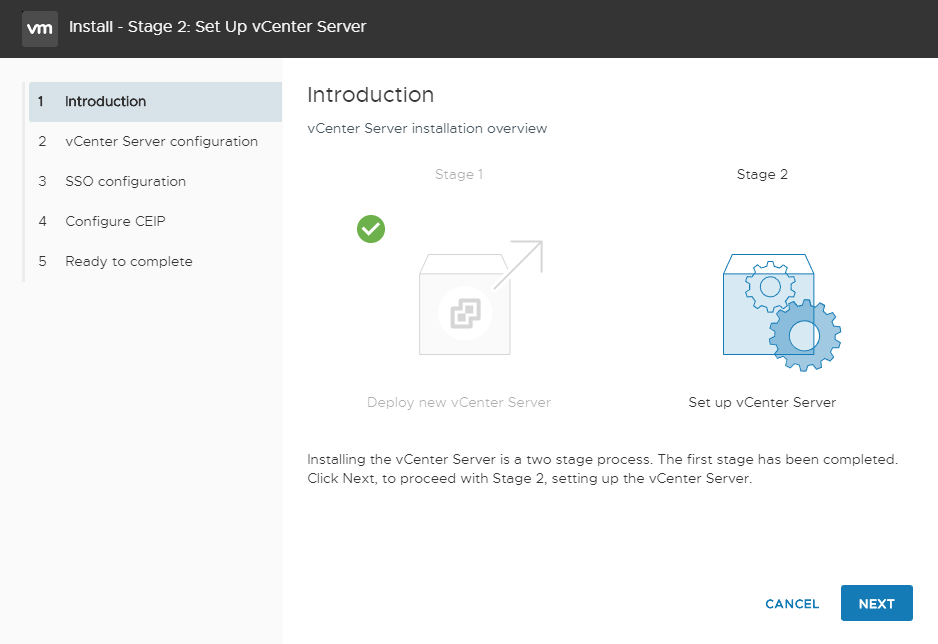
1. Set an NTP server or let the ESXi host also enable SSH if you want to have access to the vCSA.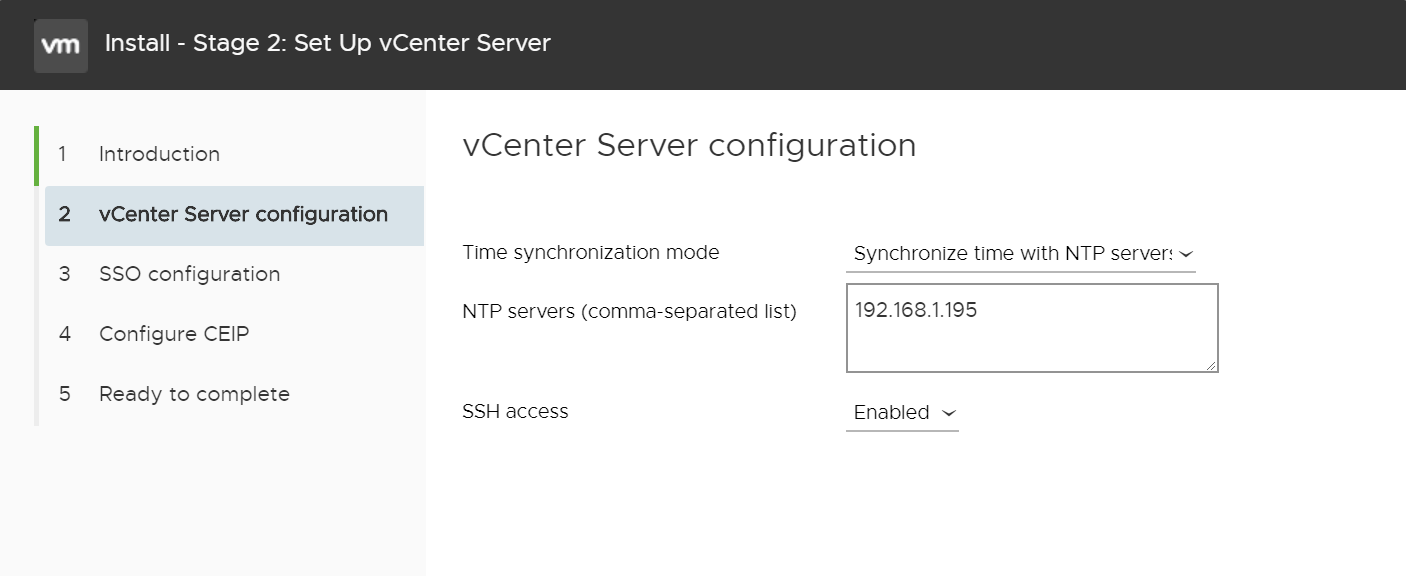
2. Configure the SSO, the default is the «vsphere.local» domain, in my case I created a custom one.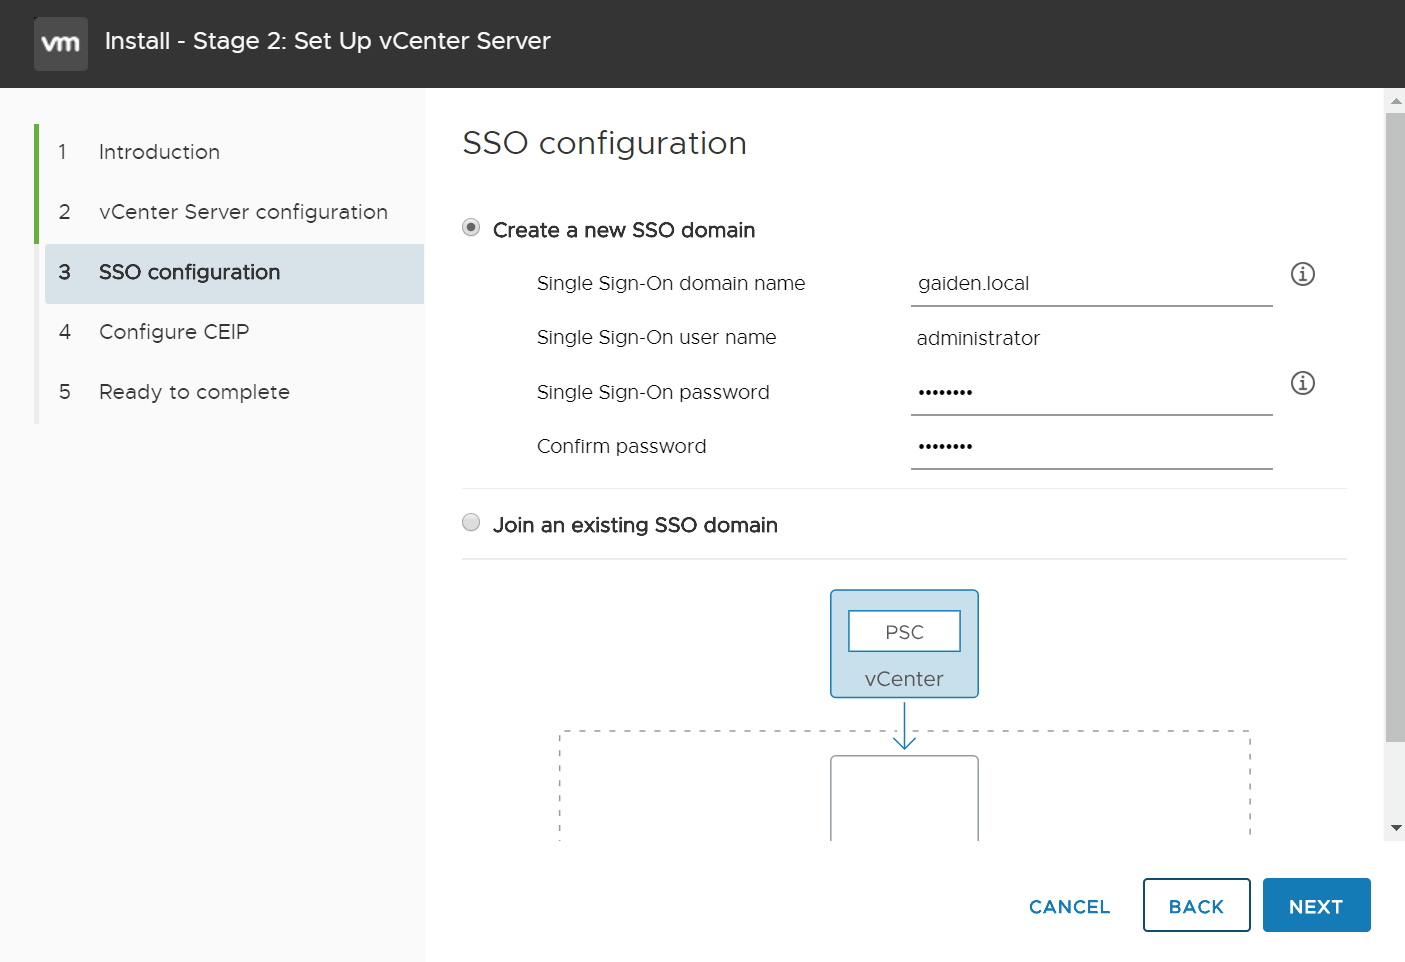
3. And the last summary after we finish Stage 2 when the vCenter will be fully configured.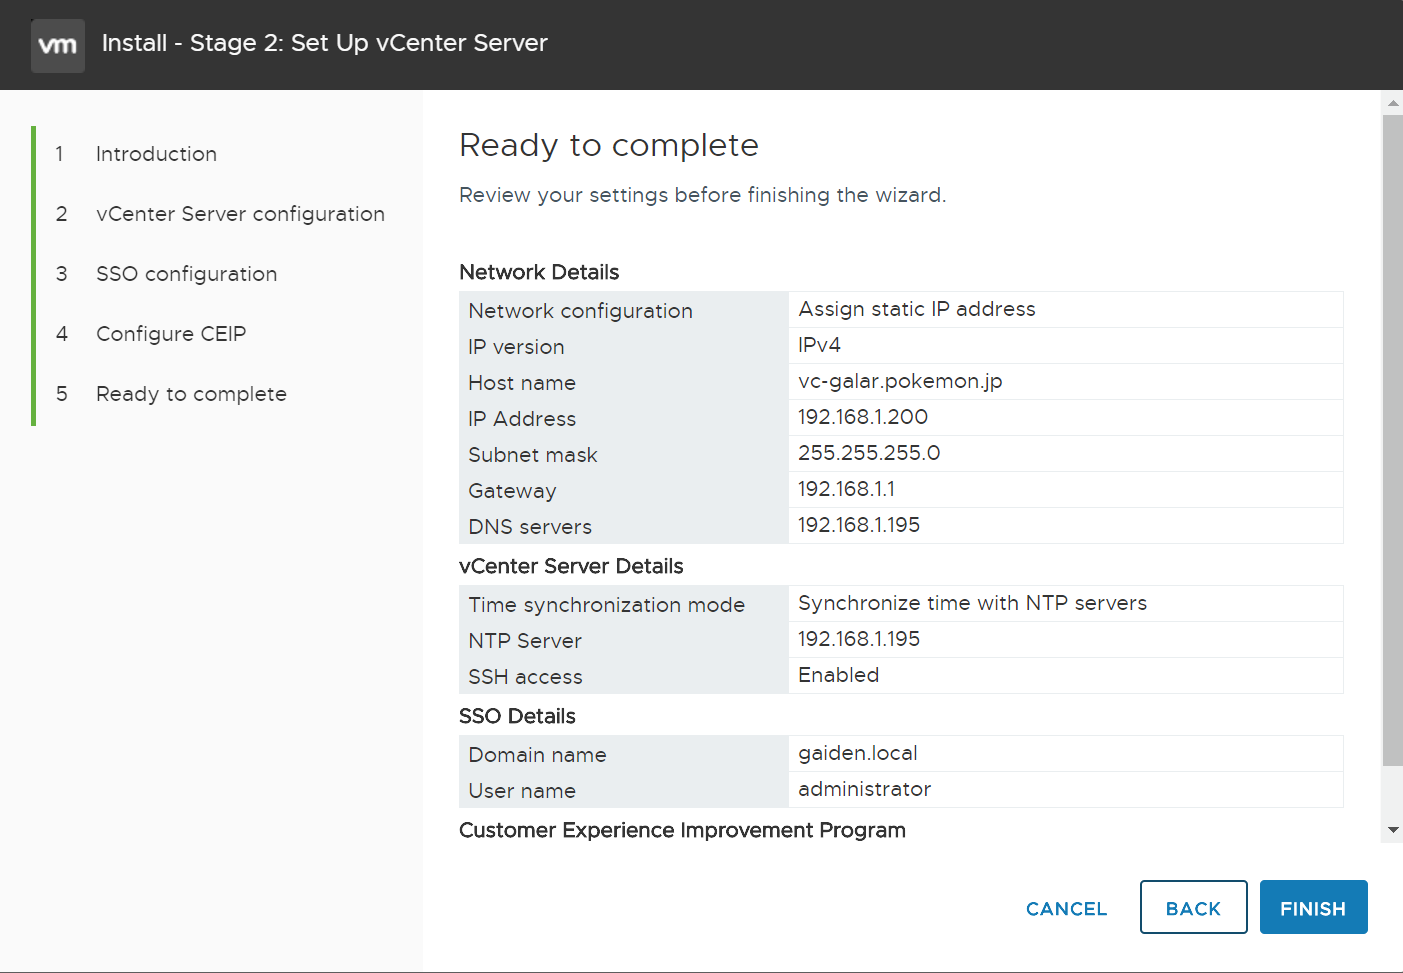
4. After a while (15-20 min.), Stage 2 finished without errors!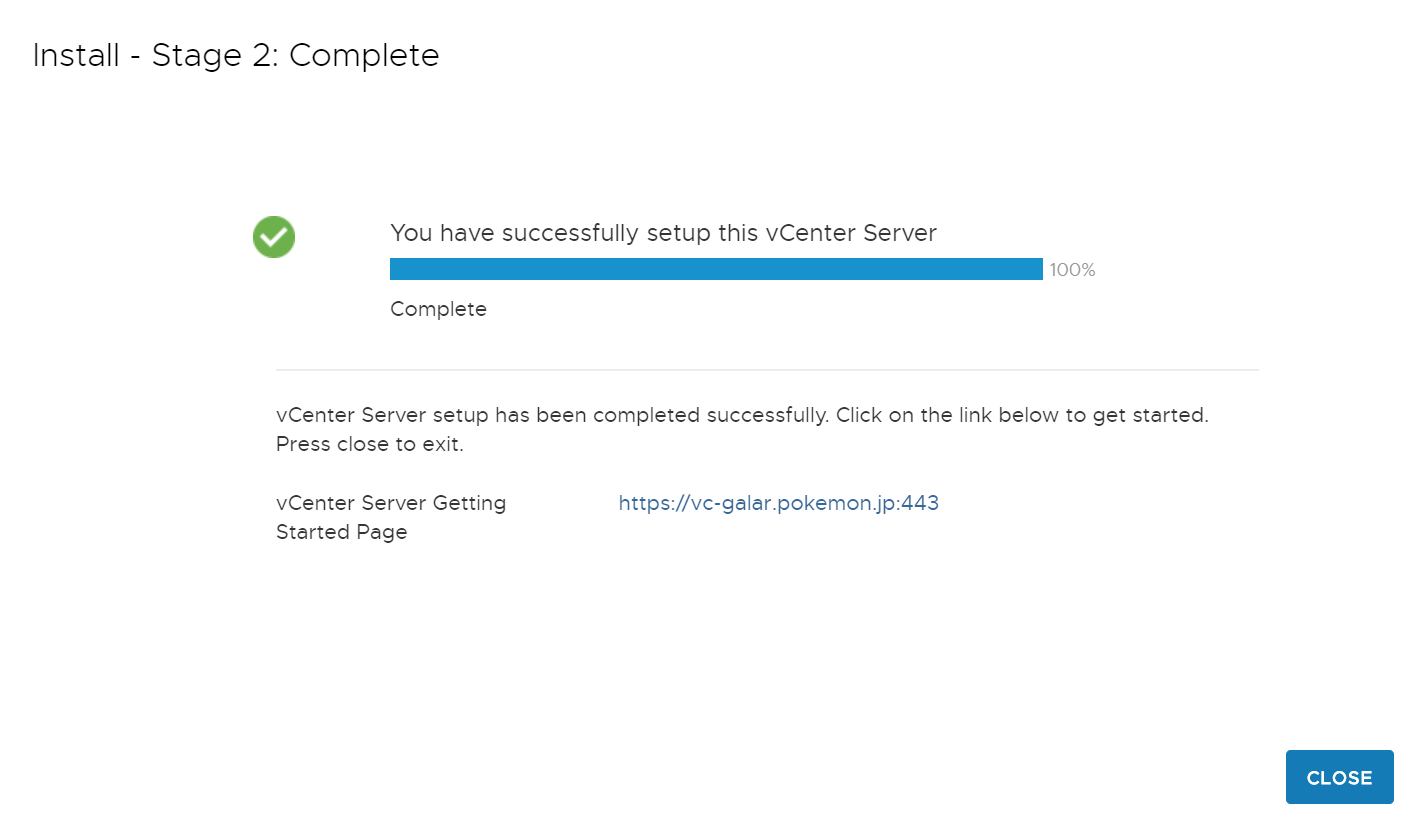
5. Now I access the GUI from the URL provided in the previous screenshot and I see that is working flawlessly!
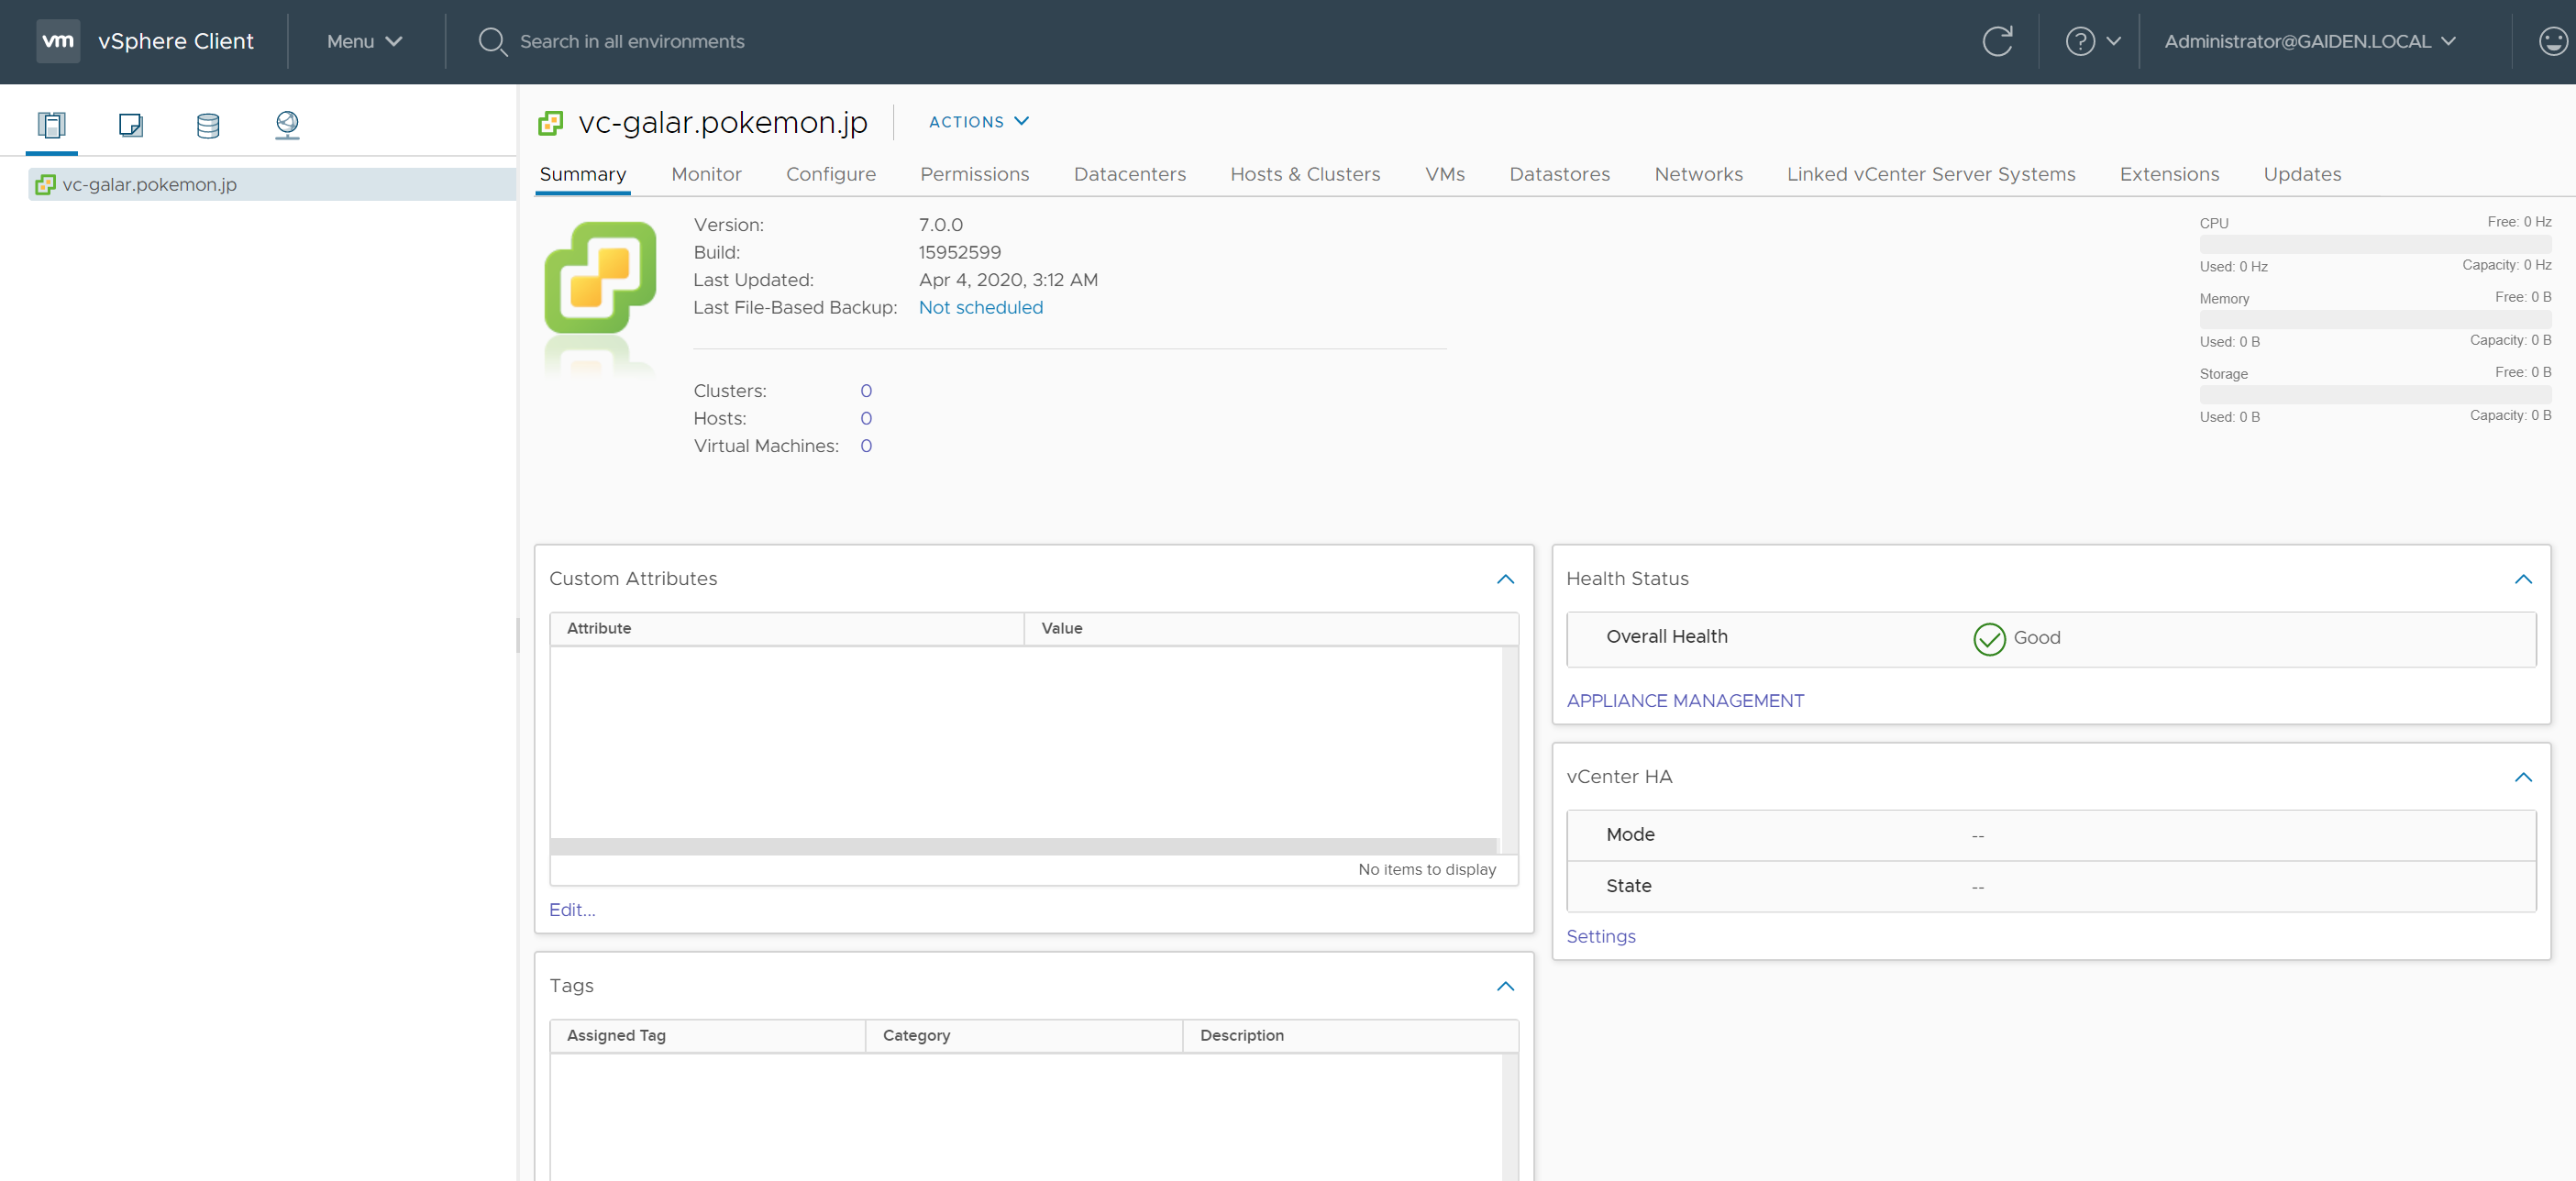
6. Enjoy your new vCenter Server with the only HTML5 interface and lots of new features that were mentioned at the beginning of this post.
We conclude this article where you can see how simple and easy is to install and deploy vCenter Server version 7.0.